
Have you ever ever puzzled learn how to make your app’s options accessible from the built-in Shortcuts app on iOS? That’s what the App Intents framework is designed for. Launched in iOS 16 and macOS Ventura, the framework has been round for over two years. It offers builders with a strong method to outline actions that customers can set off by way of Shortcuts. With App Intents, your app can combine seamlessly with the Shortcuts app, Siri, and even system-wide Highlight search.
On this tutorial, we’ll discover learn how to use the App Intents framework to deliver your app’s performance into Shortcuts by creating an App Shortcut. Utilizing the Ask Me Something app as our instance, we’ll stroll by way of the method of letting customers ask questions proper from Shortcuts.
This tutorial assumes you are aware of the Ask Me Something app from our Basis Fashions tutorial. If you have not learn it but, please evaluate that tutorial first.
Utilizing App Intents
The Ask Me Something app permits customers to ask questions after which it offers solutions utilizing the on-device LLM. What we’re going to do is to reveal this characteristic to the Shortcuts app. To try this, all you might want to do is to create a brand new Struct and undertake the App Intents framework.
Let’s create a brand new file named AskQuestionIntent within the AskMeAnything challenge and replace its content material like under:
import SwiftUI
import AppIntents

struct AskQuestionIntent: AppIntent {
    static var title: LocalizedStringResource = "Ask Query"
    static var description = IntentDescription("Ask a query to get an AI-powered reply")

    static let supportedModes: IntentModes = .foreground

    @Parameter(title: "Query", description: "The query you need to ask")
    var query: String

    @AppStorage("incomingQuestion") var storedQuestion: String = ""

    init() {}

    init(query: String) {
        self.query = query
    }

    func carry out() async throws -> some IntentResult {
        storedQuestion = query

        return .consequence()
    }
}
The code above defines a struct known as AskQuestionIntent, which is an App Intent utilizing the AppIntents framework. An App Intent is principally a method on your app to “speak” to the Shortcuts app, Siri, or Highlight. Right here, the intent’s job is to let a consumer ask a query and get an AI-powered reply.
On the high, now we have two static properties: title and description. These are what the Shortcuts app or Siri will present the consumer once they have a look at this intent.
The supportedModes property specifies that this intent can solely run within the foreground, that means the app will open when the shortcut is executed.
The @Parameter property wrapper defines the enter the consumer wants to offer. On this case, it is a query string. When somebody makes use of this shortcut, they will be prompted to kind or say this query.
The @AppStorage("incomingQuestion") property is a handy method to persist the supplied query in UserDefaults, making it accessible to different elements of the app.
Lastly, the carry out() perform is the place the intent truly does its work. On this instance, it simply takes the query from the parameter and saves it into storedQuestion. Then it returns a .consequence() to inform the system it’s performed. You’re not doing the AI name instantly right here — simply passing the query into your app so it may deal with it nevertheless it needs.
Dealing with the Shortcut
Now that the shortcut is prepared, executing the “Ask Query” shortcut will mechanically launch the app. To deal with this conduct, we have to make a small replace to ContentView.
First, declare a variable to retrieve the query supplied by the shortcut like this:
@AppStorage("incomingQuestion") non-public var incomingQuestion: String = ""Subsequent, connect the onChange modifier to the scroll view:
ScrollView {

...


}
.onChange(of: incomingQuestion) { _, newQuestion in
    if !newQuestion.isEmpty {
        query = newQuestion
        incomingQuestion = ""

        Process {
            await generateAnswer()
        }
    }
}
Within the code above, we connect an .onChange modifier to the ScrollView so the view can reply every time the incomingQuestionvalue is up to date. Contained in the closure, we verify whether or not a brand new query has been obtained from the shortcut. In that case, we set off the generateAnswer() methodology, which sends the query to the on-device LLM for processing and returns an AI-generated reply.
Including a Preconfigured Shortcut
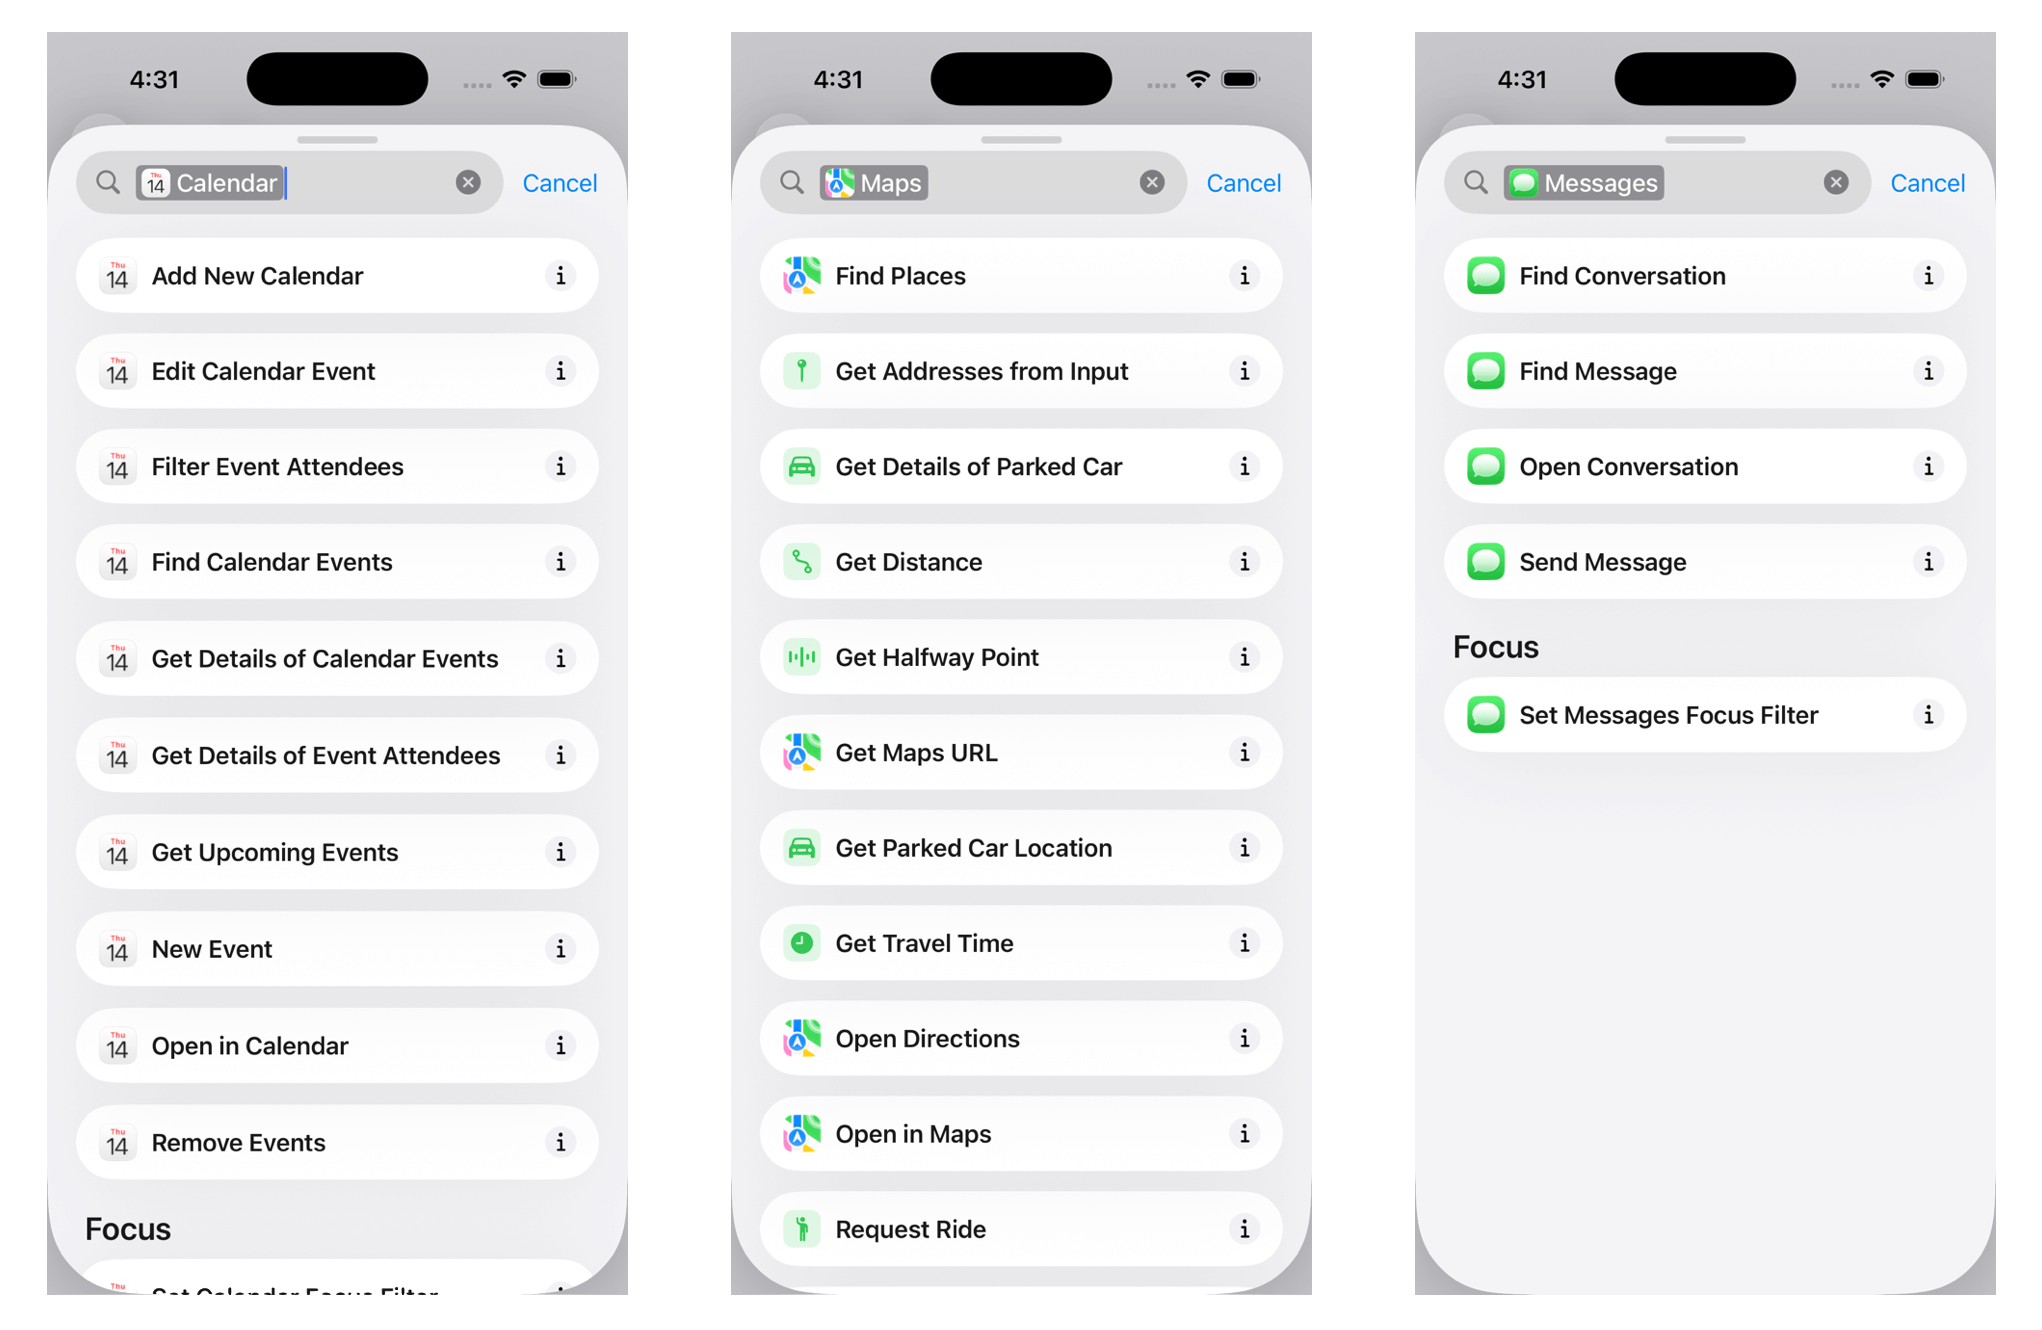
In essence, that is the way you create a shortcut that connects on to your app. For those who’ve explored the Shortcuts app earlier than, you’ve in all probability observed that many apps already present preconfigured shortcuts. As an illustration, the Calendar app contains ready-made shortcuts for creating and managing occasions.
With the App Intents framework, including these preconfigured shortcuts to your personal app is simple. They can be utilized immediately within the Shortcuts app or triggered hands-free with Siri. Constructing on the AskQuestionIntent we outlined earlier, we will now create a corresponding shortcut so customers can set off it extra simply. For instance, right here’s how we might outline an “Ask Query” shortcut:
struct AskQuestionShortcut: AppShortcutsProvider {
    static var appShortcuts: [AppShortcut] {
        AppShortcut(
            intent: AskQuestionIntent(),
            phrases: [
                "Ask (.applicationName) a question",
                "Ask (.applicationName) about (.applicationName)",
                "Get answer from (.applicationName)",
                "Use (.applicationName)"
            ],
            shortTitle: "Ask Query",
            systemImageName: "questionmark.bubble"
        )
    }
}
The AskQuestionShortcut adopts the AppShortcutsProvider protocol, which is how we inform the system what shortcuts our app helps. Inside, we outline a single shortcut known as “Ask Query,” which is tied to our AskQuestionIntent. We additionally present a set of instance phrases that customers may say to Siri, equivalent to “Ask [App Name] a query” or “Get reply from [App Name].”
Lastly, we give the shortcut a brief title and a system picture title so it’s visually recognizable contained in the Shortcuts app. As soon as this code is in place, the system mechanically registers it, and customers will see the shortcut prepared to make use of—no further setup required.
Testing the Shortcut
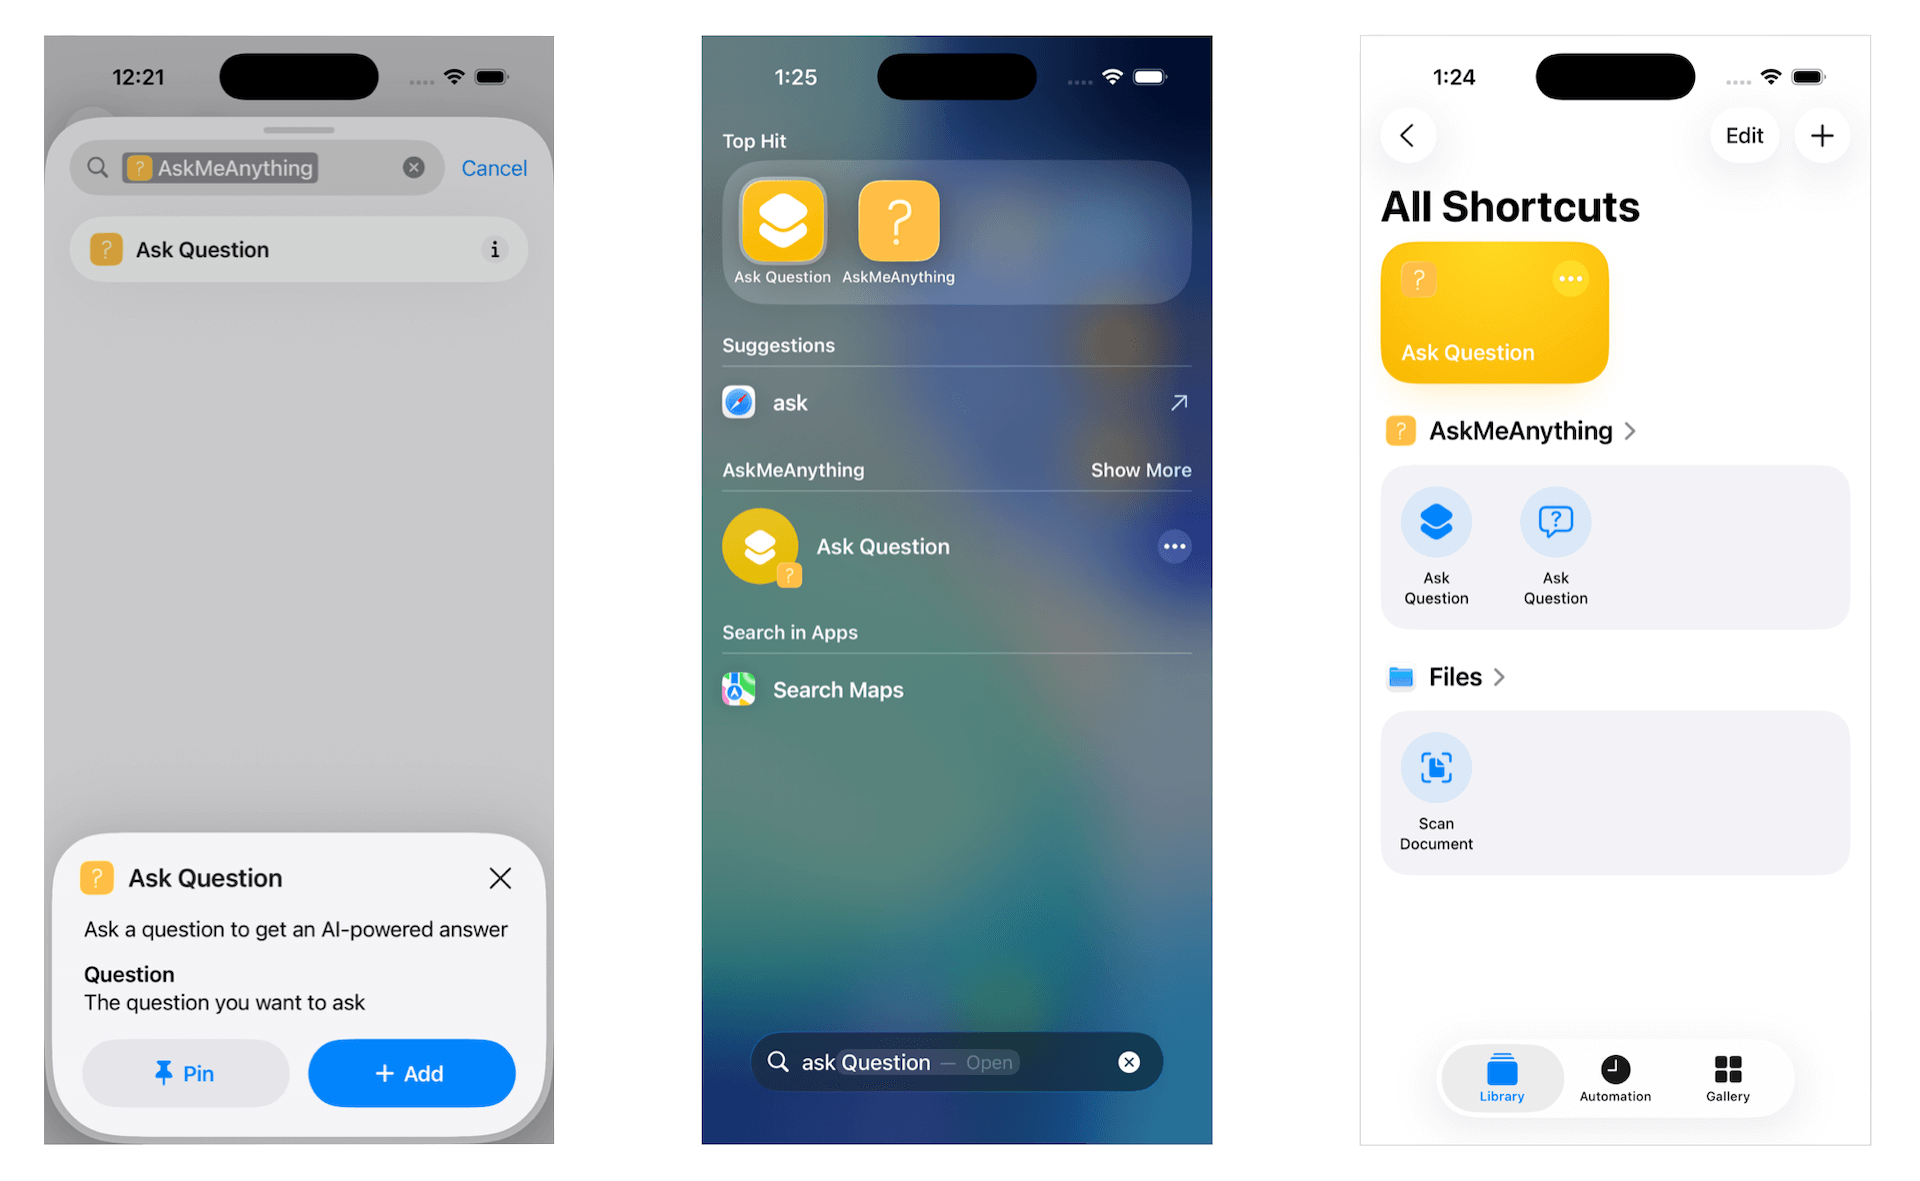
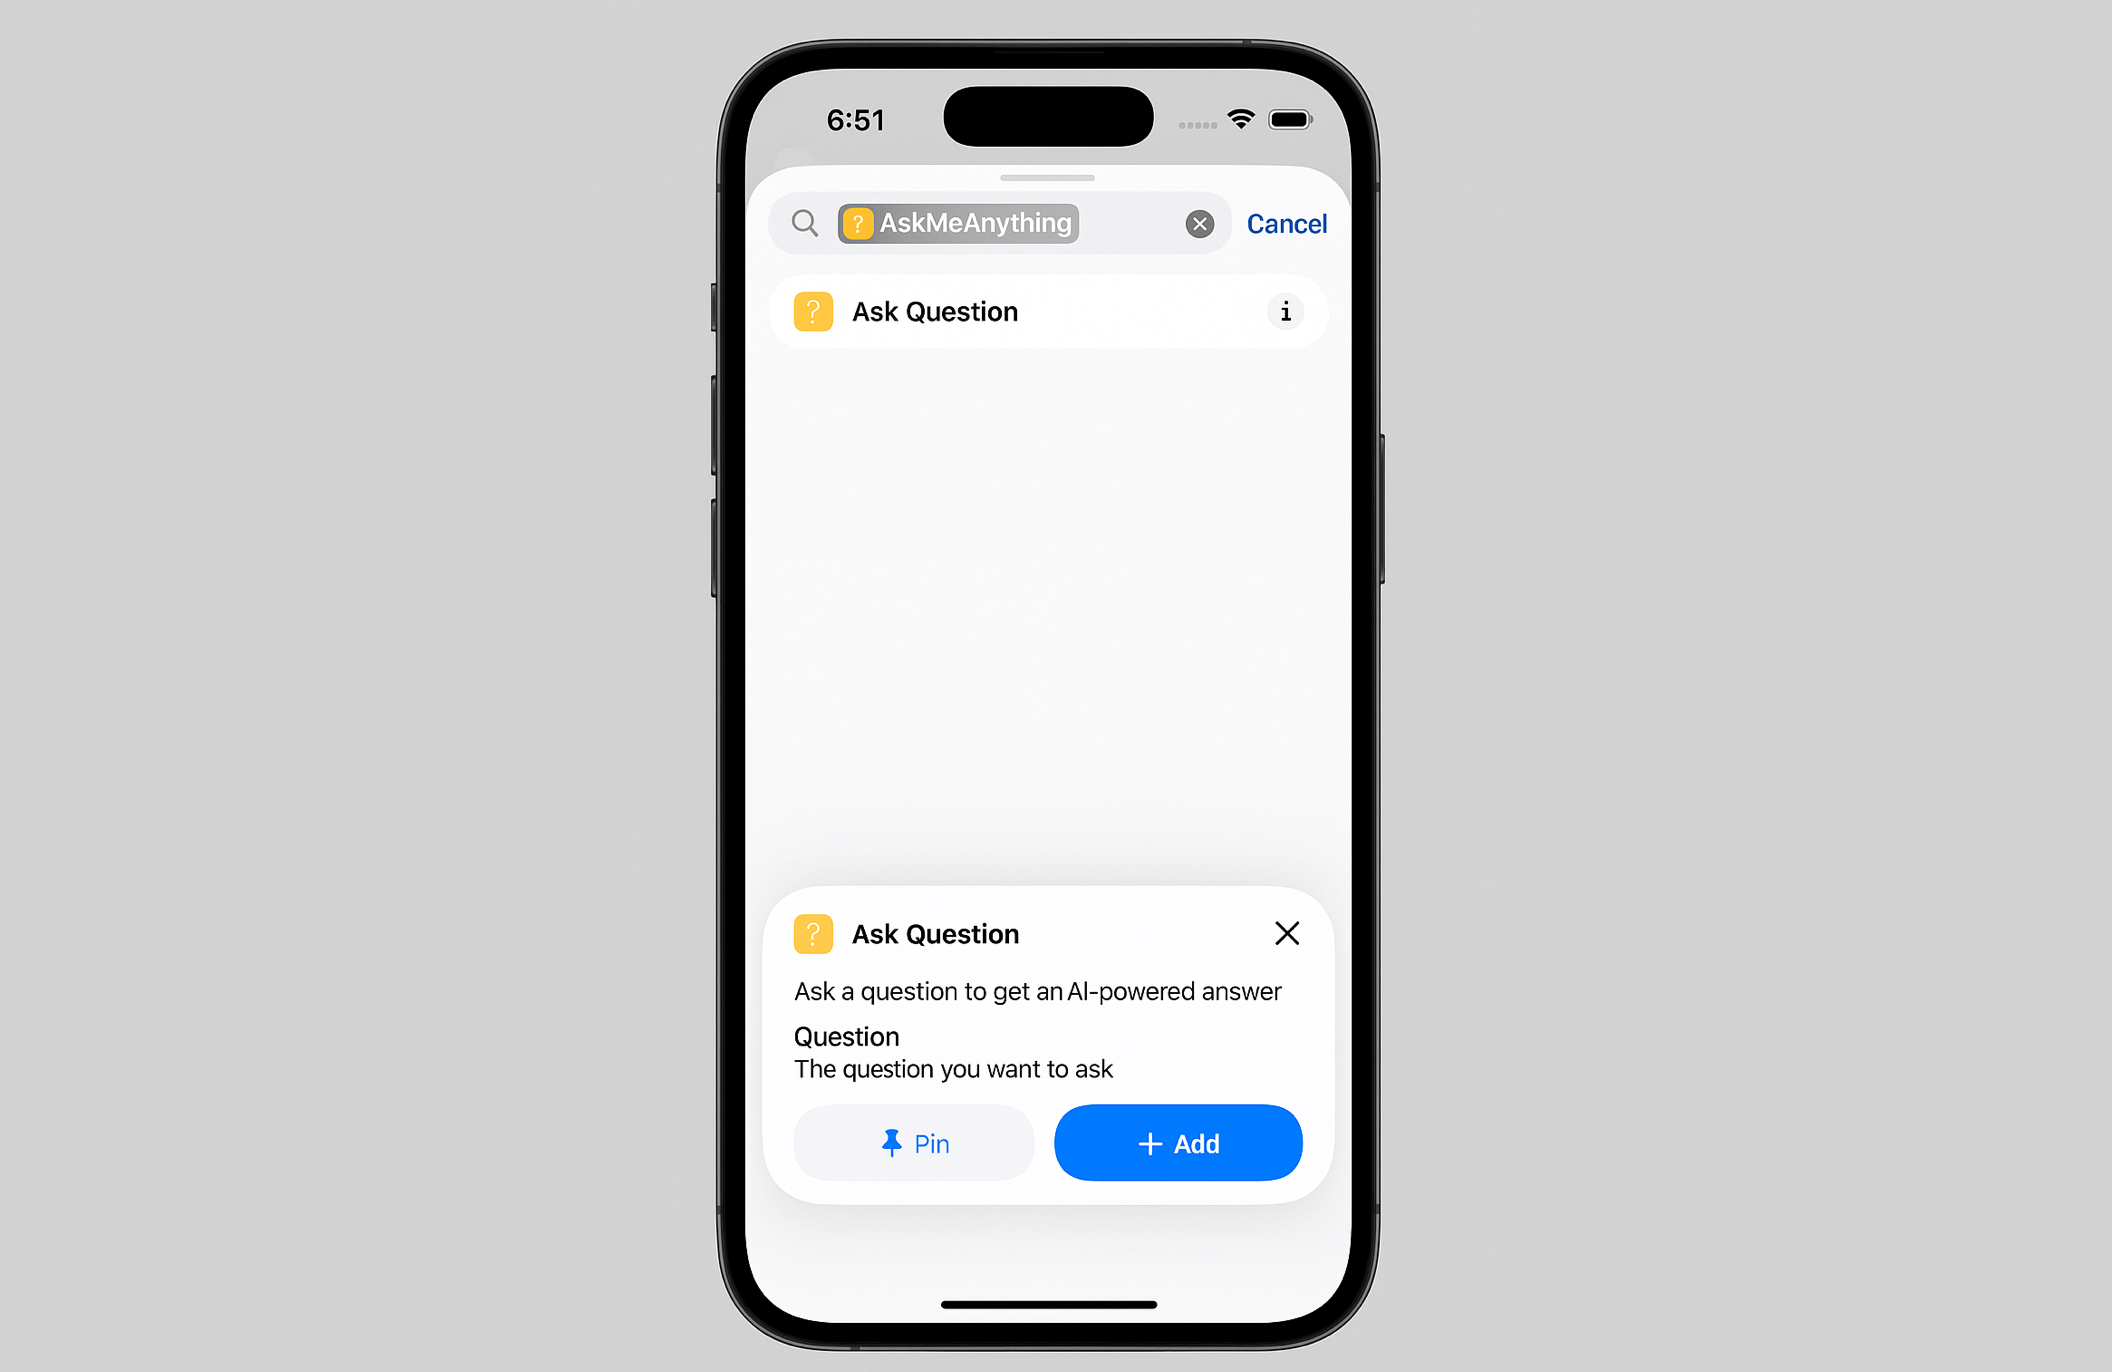
To provide the shortcut a attempt, construct and run the app on both the simulator or a bodily iOS machine. As soon as the app has launched at the very least as soon as, return to the Residence Display and open the Shortcuts app. You must now discover the “Ask Query” shortcut we simply created, prepared so that you can use.
The brand new shortcut not solely seems within the Shortcuts app however can also be out there in Highlight search.
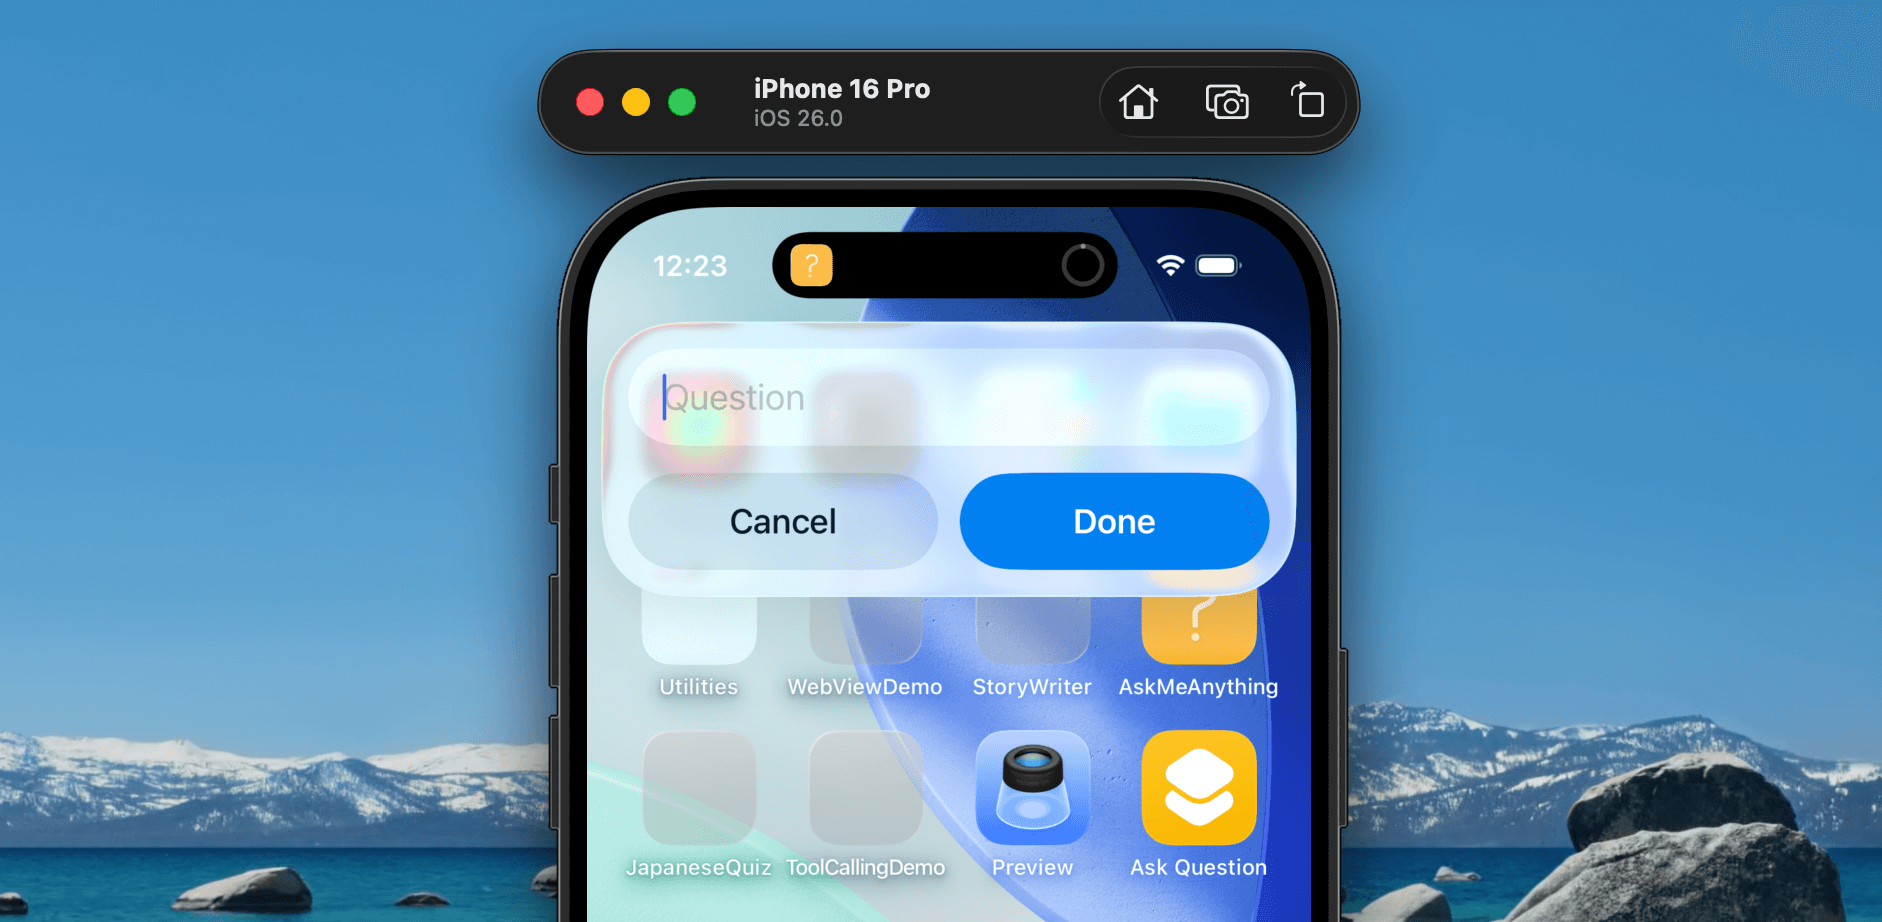
Once you run the “Ask Query” shortcut, it ought to mechanically immediate you for query. When you kind your query and faucet Carried out, it brings up the app and present you the reply.
Abstract
On this tutorial, we explored learn how to use the App Intents framework to reveal your app’s performance to the Shortcuts app and Siri. We walked by way of creating an AppIntent to deal with consumer enter, defining a preconfigured shortcut, and testing it proper contained in the Shortcuts app. With this setup, customers can now ask inquiries to the Ask Me Something app instantly from Shortcuts or by way of Siri, making the expertise quicker and extra handy.
Within the subsequent tutorial, we’ll take it a step additional by exhibiting you learn how to show the AI’s reply in a Reside Exercise. It will let customers see their responses in actual time, proper on the Lock Display or within the Dynamic Island—with out even opening the app.
