The Finder is the principle consumer interface for managing information on the Mac. Consider it as the start line for navigating macOS–it’s just like the Residence Display screen on an iPhone and iPad. You most likely don’t give the Finder a lot thought, however it’s probably the most necessary locations in your Mac.
Due to that, you need to take advantage of that point. You’ll be able to tweak the Finder so it higher fits the way in which you do issues, and there are just a few duties you are able to do throughout the Finder as a substitute of in an app. Listed below are 10 issues you need to know so you may get essentially the most out of the Finder.
Finder and Desktop defined

The Fast Take operate within the Finder permits you to see a preview of a file.
Foundry
That is a proof of terminology. Earlier than you may grasp the Finder, it helps to grasp the distinction when, say, you’re trying up assist paperwork on Apple.com or studying a how-to on Macworld.
You hear folks seek advice from the Desktop on the Mac. The Desktop and the Finder are two elements of a complete. The Finder is definitely an app that runs on a regular basis. The Desktop is a part of the Finder; to paraphrase Apple, the Desktop is the house between the menu bar on the high, and the Dock on the backside (or the underside of the display screen, in case your Dock is just not positioned there or is hiding). If you happen to click on on the Desktop, discover that the app you find yourself in is the Finder. So, if you happen to’re working with somebody on a Mac and also you’re informed to go to the Desktop or Finder, they’re normally referring to the identical factor.
Now, the Finder and Desktop differ in performance. You’ll be able to place information on the Desktop, and you may set the Finder to show icons so you may entry storage gadgets, servers, and extra. The Finder itself affords different capabilities, reminiscent of home windows to navigate and handle information, Fast Look (choose a file after which press the spacebar to see a preview of it), syncing with an iPhone, and extra.
Add a number of Desktops
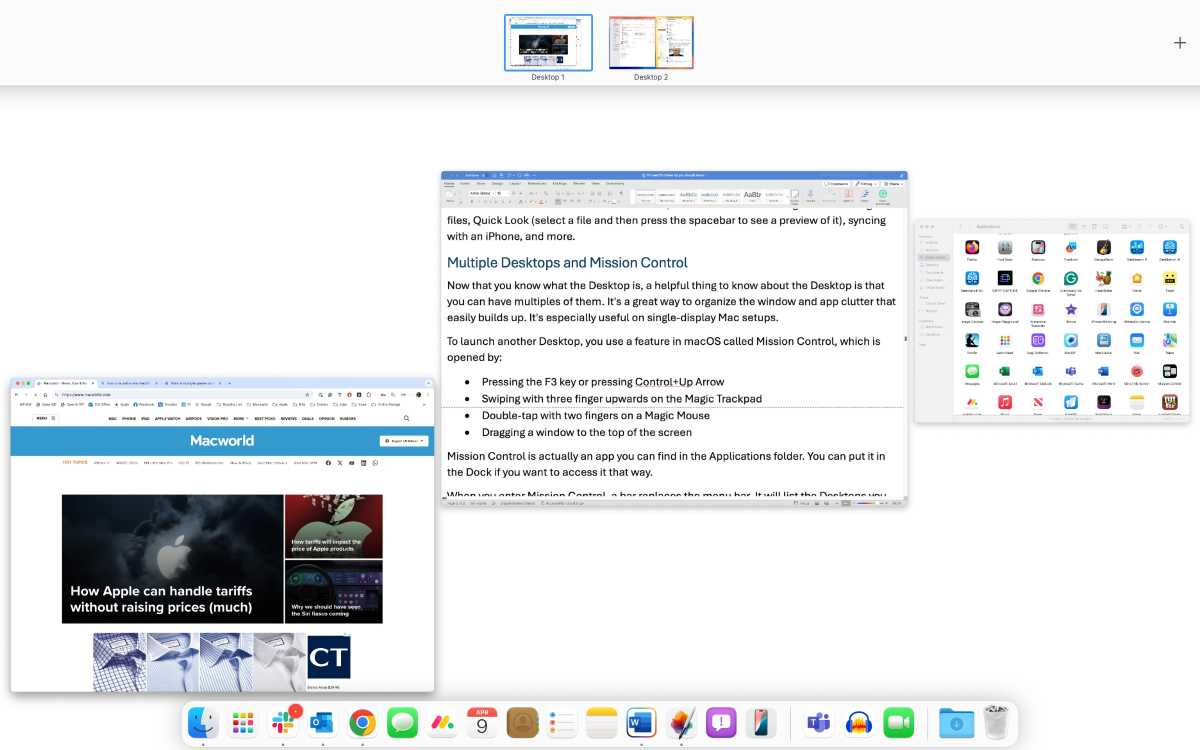
Navigate between Desktops in Mission Management.
Foundry
Now that you recognize what the Desktop is, you may now know which you could have a number of variations of it. It’s an effective way to prepare the window and app litter that simply builds up. It’s particularly helpful on single-display Mac setups.
To launch one other Desktop, you employ an app in macOS known as Mission Management, which is opened by:
- Urgent the F3 key or urgent Management+Up Arrow
- Swiping with three fingers upwards on the Magic Trackpad
- Double-tap with two fingers on a Magic Mouse
- Dragging a window to the highest of the display screen
Once you enter Mission Management, a bar replaces the menu bar on the high of your display screen. It’ll checklist the Desktops you presently have, which will probably be only one to begin. Transfer the cursor over the bar, and it expands to indicate thumbnails of your Desktops. So as to add one other Desktop, click on on the “+” icon on the suitable facet of the bar. (Apple’s documentation refers to a Desktop in Mission Management as a “Area” and that bar because the “Areas bar.” However I’m going to maintain calling them Desktops to attenuate confusion.)
When you’ve created extra Desktops (the restrict is 16), you may transfer app and Finder home windows beneath the bar to particular Desktops, making your workspace rather more organized. For instance, I normally have two Desktops, one with the apps for writing Macworld articles, and a second one with simply electronic mail and Slack. Generally I launch a 3rd Desktop for picture, video, or audio modifying.
To maneuver between Desktops on a Magic Trackpad, swipe with three or 4 fingers left or proper. On a keyboard, press Management+Left or Proper Arrow.
Customise what you see
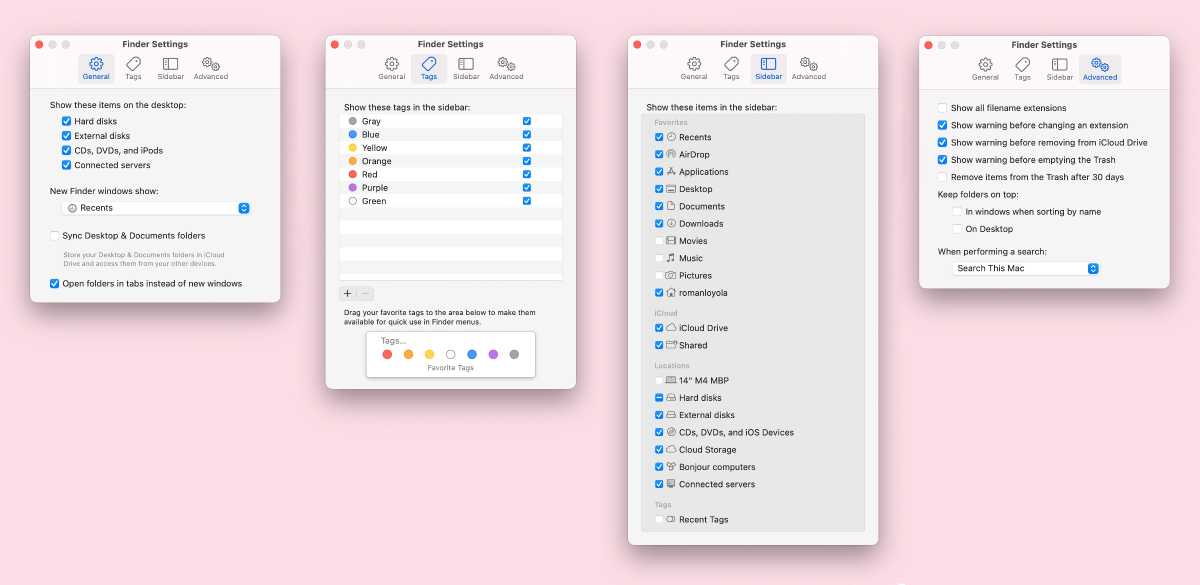
Customise the Finder in Finder > Settings.
Foundry
As a result of a whole lot of customers don’t consider the Finder as an app, they don’t notice that the Finder has Settings. When within the Finder, click on on Finder within the menu bar, and also you’ll discover Settings. That is the place you can also make essentially the most changes to customise the Finder to your preferences. As you may see above, I very hardly ever use Tags, Music, or Motion pictures, so I’ve unchecked them to cover them within the Sidebar part.
Proper-click to see extra
RIght-click on the FInder icon within the Dock to see extra choices.
Foundry
Clicking on the Finder icon within the Dock brings the Finder to the forefront and opens the Finder Window. Nevertheless, if you happen to right-click (or Management+click on, or do a two-fingered click on on a Magic Trackpad), you’ll discover extra choices out there to assist navigate your Mac. It’s a useful gizmo for these occasions when the Desktop litter is a complete mess.
Take Motion
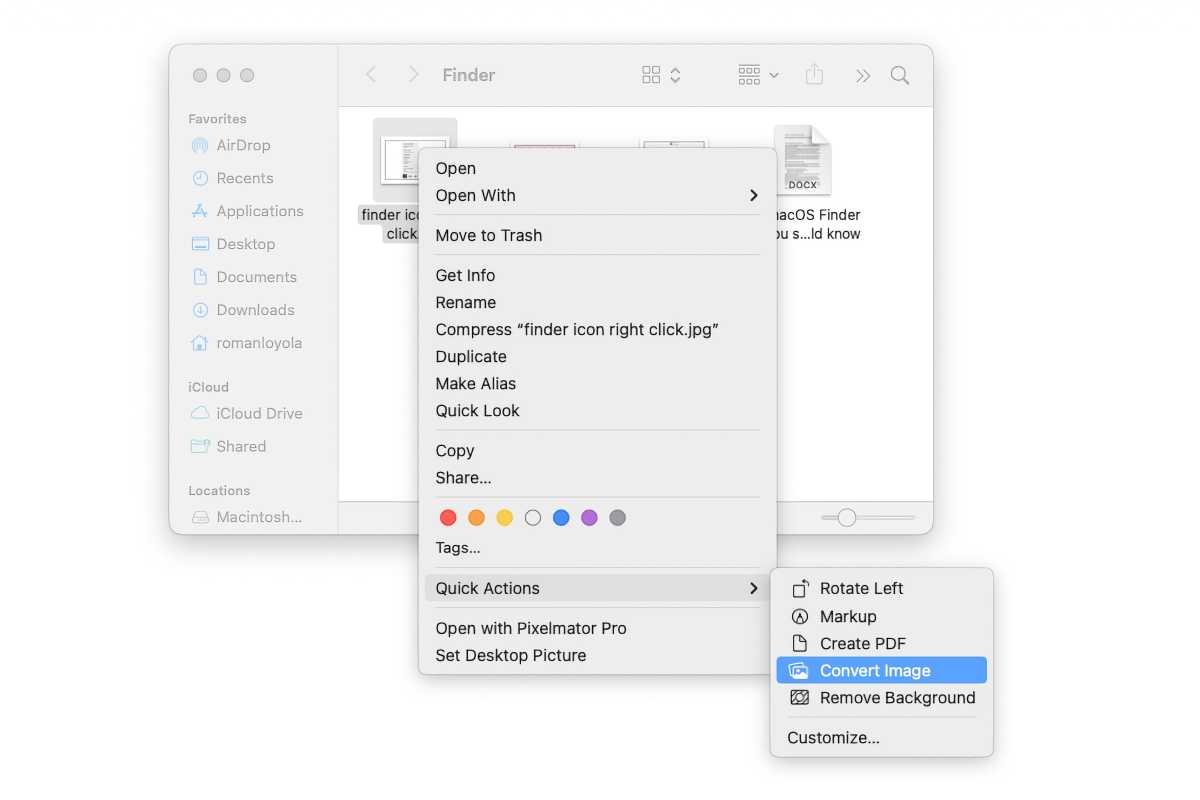
Finder Fast Actions permits entry to Finder extensions that may be put in by the apps you employ.
Foundry
When right-clicking a file within the Finder, the contextual menu that seems affords a number of choices for you. Considered one of them is Fast Actions, that are duties you are able to do primarily based on the file kind. For instance, Fast Actions for a graphic file could have choices for Rotate Left, Covert Picture, Take away Background, and extra, with out the necessity of opening an app.
Not each file kind has Fast Actions out there. There isn’t a spot just like the App Retailer the place you may get extra Fast Actions. These are offered by the apps you put in in your Mac. For instance, if you happen to set up Pixelmator Professional, it affords its personal Take away Background Fast Motion.
You’ll be able to activate/off Fast Motion capabilities in System Settings > Normal; scroll right down to the Extensions part, discover the Finder part, and click on its “i” icon. An inventory of Fast Actions will seem with switches to show them on/off.
Add a widget
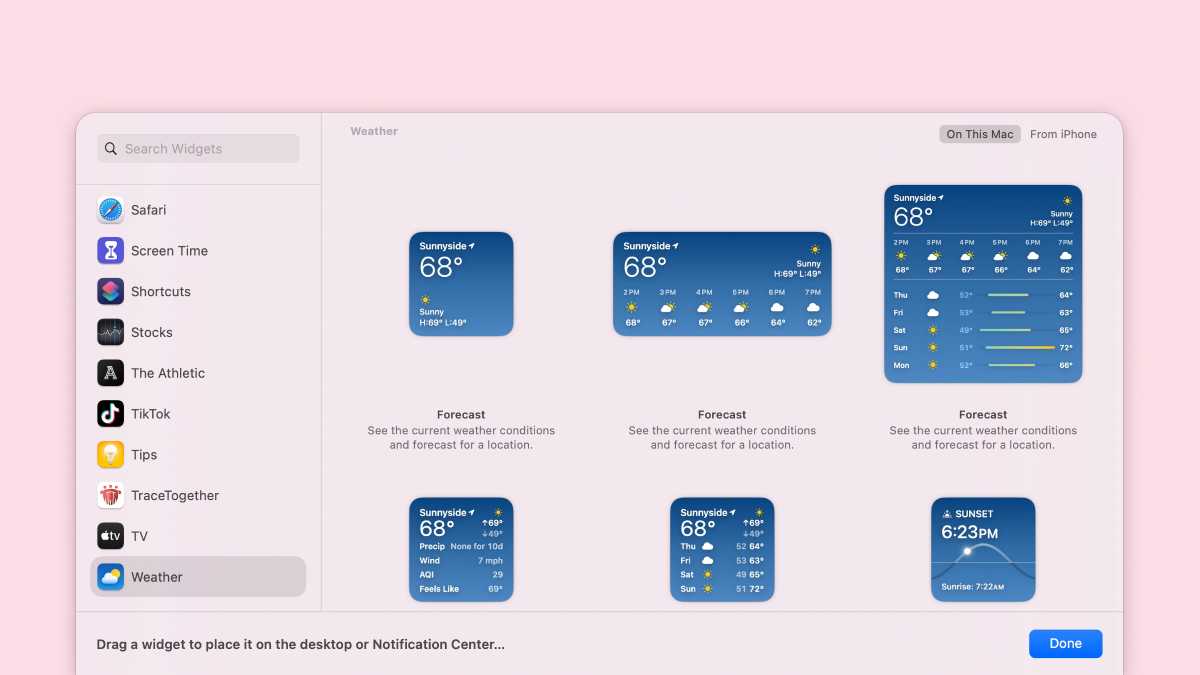
Desktop widgets present prompt entry to data you consistently need.
Foundry
About two years in the past, Apple launched macOS Desktop widgets. This can be a characteristic introduced over from iOS and it lets you put app widgets that keep in your Desktop for fast entry. For instance, the Calendar widget exhibits your day by day schedule without having to open the Calendar app, which you’ll be able to open by clicking the widget.
Widgets which can be made for iOS are introduced over the macOS, so the out there widgets you could have are primarily based on what iPhone and iPad apps you could have. You’ll be able to see an inventory of widgets by right-clicking any house on the Desktop and deciding on Edit Widgets within the contextual menu. They’ll stay in your Desktop or within the notification sidebar.
Present the Clipboard
What’s in your Clipboard? Discover out by means of this feature.
Foundry
What would occur to our productiveness if lower/copy and paste disappeared? It’s a typical operate on any computing system, however have you ever ever puzzled what precisely is presently within the clipboard?
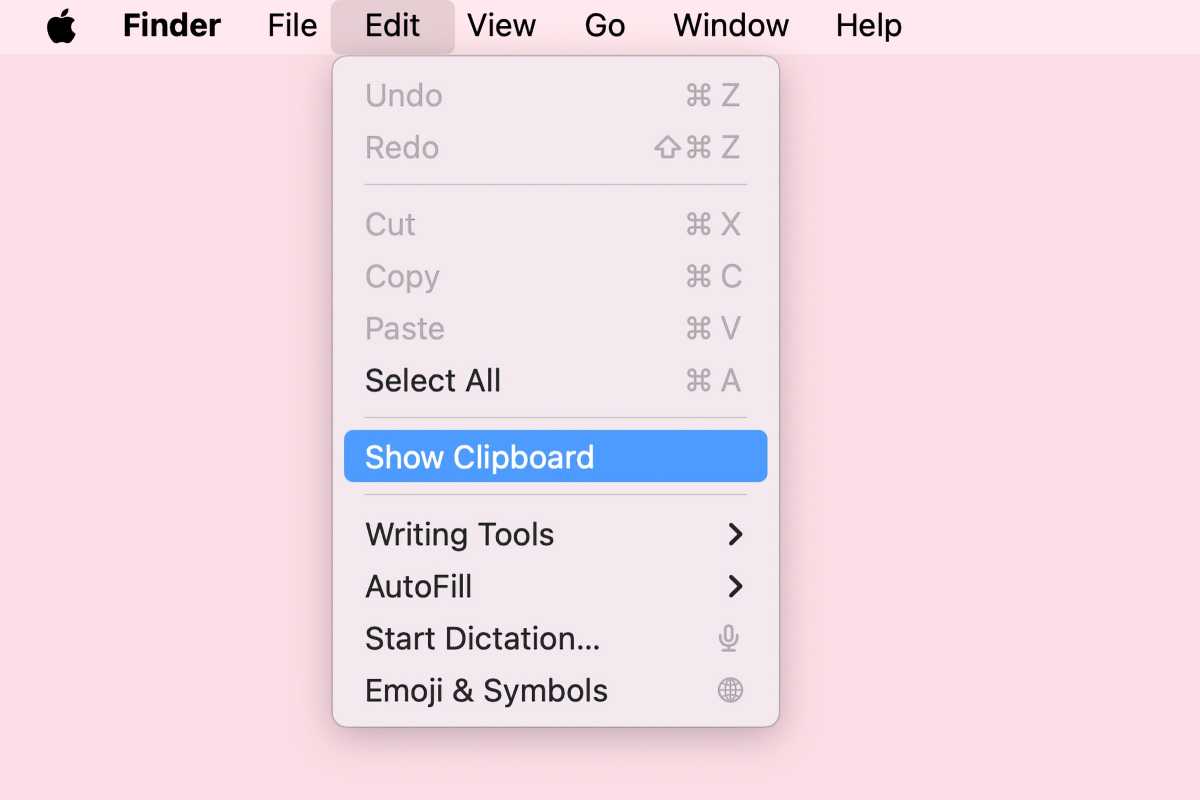
You will discover out within the Finder. Go to Edit > Present Clipboard, and a window pops as much as show the clipboard contents. More often than not, you may see what’s in there–if it’s textual content, you’ll see it, if it’s a picture, it’s there. Some gadgets don’t seem, for instance, once I copy a video clip in iMovie, the Clipboard is clean and the identifier on the backside says Clipboard contents: unknown. That doesn’t imply there’s nothing within the Clipboard, it simply means it’s not being displayed.
This most likely isn’t a characteristic you’ll use usually, however it could be a good suggestion to examine your Clipboard to verify any non-public data isn’t in there. Nevertheless, there isn’t a simple solution to clear the clipboard. You’ll be able to copy clean house from a doc, and it’ll appear like there’s nothing in your Clipboard, or copy one thing of no worth.
You’ll be able to erase the Clipboard within the Terminal by getting into pbcopy after which urgent Return. Additionally, if you restart your Mac, the Clipboard will get worn out each time. Third-party Clipboard utilities let you handle Clipboard contents and still have different options like a number of clipboards and the flexibility to avoid wasting clipboards after the Mac restarts.
Rearrage the Sidebar by clicking and dragging.
Foundry
In Finder Home windows, the Sidebar lists areas the place you’ll entry information. By default, they’re listed alphabetically inside their sections, however you may rearrange them by clicking and dragging. You’ll be able to even transfer the sections; if you wish to transfer, say, the iCloud part to the underside, simply click on the iCloud header and drag it to the underside.
You’ll be able to decide what gadgets seem within the Finder Settings beneath Sidebar. For instance, if you happen to don’t need AirDrop within the checklist, you may go into Settings and uncheck the AirDrop field.
Supercharge your folders
Arrange scripts that may apply automated actions to a folder.
Foundry
There’s a little-used characteristic within the Finder known as Folder Actions Setup and what it does is that it performs actions on information throughout the folder. For instance, you may arrange a Folder in order that if you place photos into it, the photographs are mechanically transformed to jpegs.
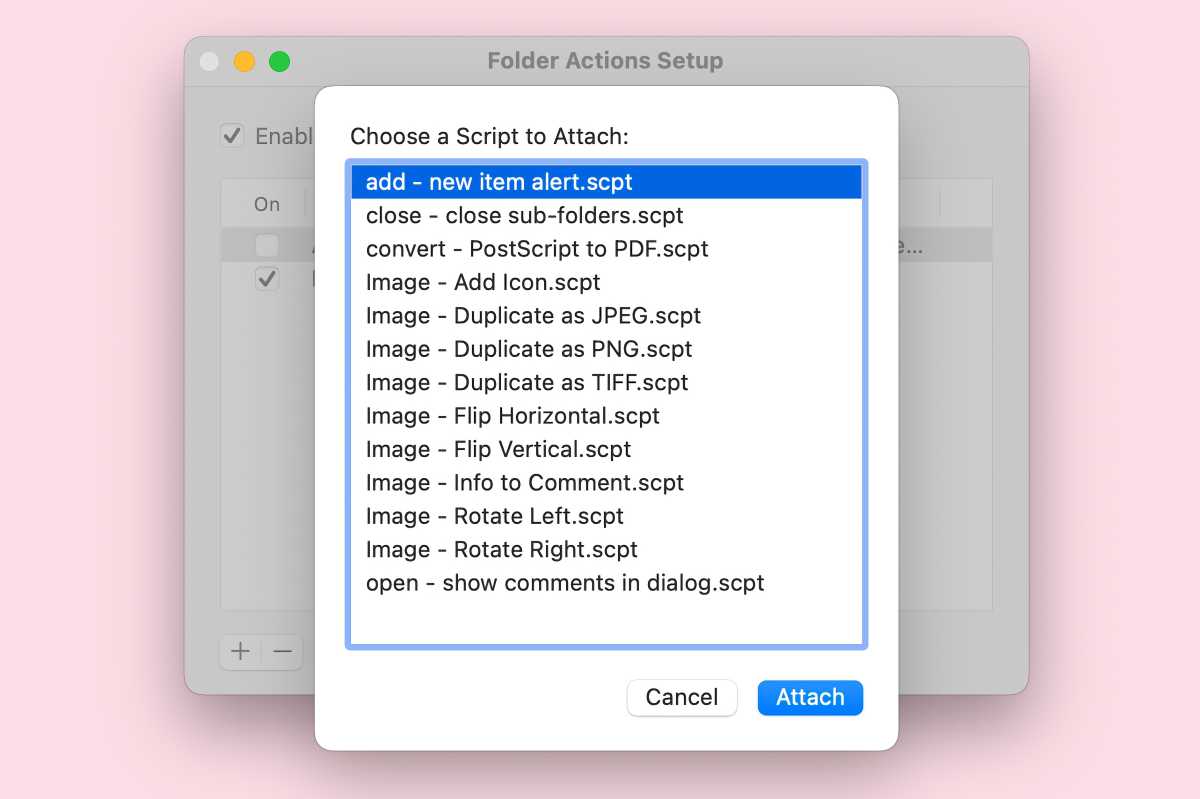
To make use of Folder Motion Setup, right-click on a folder and choose Folder Motion Setup from the pop-up menu. macOS features a few actions you need to use, most of them to be used with photos, reminiscent of format conversion, rotation, or flipping. There may be one motion that makes an alert seem each time a folder has a brand new file added to it.
These actions are AppleScripts; a script is a technique of automating a set of duties. You’ll be able to create your individual scripts and use them in Folder Motion Setup if those in macOS aren’t what you want. Take a look at our information to utilizing Folder Motion Setup.
Use an iPhone or iPad to take photographs, scan, or sketch

Use your iPhone to take an image that’s saved on to the macOS Desktop.
Macworld
Proper-click anyplace on the Desktop, and within the pop-up menu, choose Import from iPhone or iPad. A pop-up seems that gives choices to Take Photograph, Scan Paperwork, or Add Sketch. Decide one and the Digital camera app opens for photographs or scans, or a sketch app opens. Something you create with these apps is saved to the Mac’s Desktop.
