
Beforehand, we offered a temporary introduction to Google Gemini APIs and demonstrated the best way to construct a Q&A utility utilizing SwiftUI. You need to notice how easy it’s to combine Google Gemini and improve your apps with AI options. We have now additionally developed a demo utility to display the best way to assemble a chatbot app utilizing the AI APIs.
The gemini-pro mannequin mentioned within the earlier tutorial is restricted to producing textual content from text-based enter. Nevertheless, Google Gemini additionally provides a multimodal mannequin known as gemini-pro-vision, which might generate textual content descriptions from photos. In different phrases, this mannequin has the capability to detect and describe objects in a picture.
On this tutorial, we are going to display the best way to use Google Gemini APIs for picture recognition. This easy app permits customers to pick out a picture from their photograph library and makes use of Gemini to explain the contents of the photograph.
Earlier than continuing with this tutorial, please go to Google AI Studio and create your individual API key when you haven’t performed so already.
Including Google Generative AI Package deal in Xcode Tasks
Assuming you’ve already created an app venture in Xcode, step one to utilizing Gemini APIs is importing the SDK. To perform this, right-click on the venture folder within the venture navigator and choose Add Package deal Dependencies. Within the dialog field, enter the next bundle URL:
https://github.com/google/generative-ai-swiftYou possibly can then click on on the Add Package deal button to obtain and incorporate the GoogleGenerativeAI bundle into the venture.
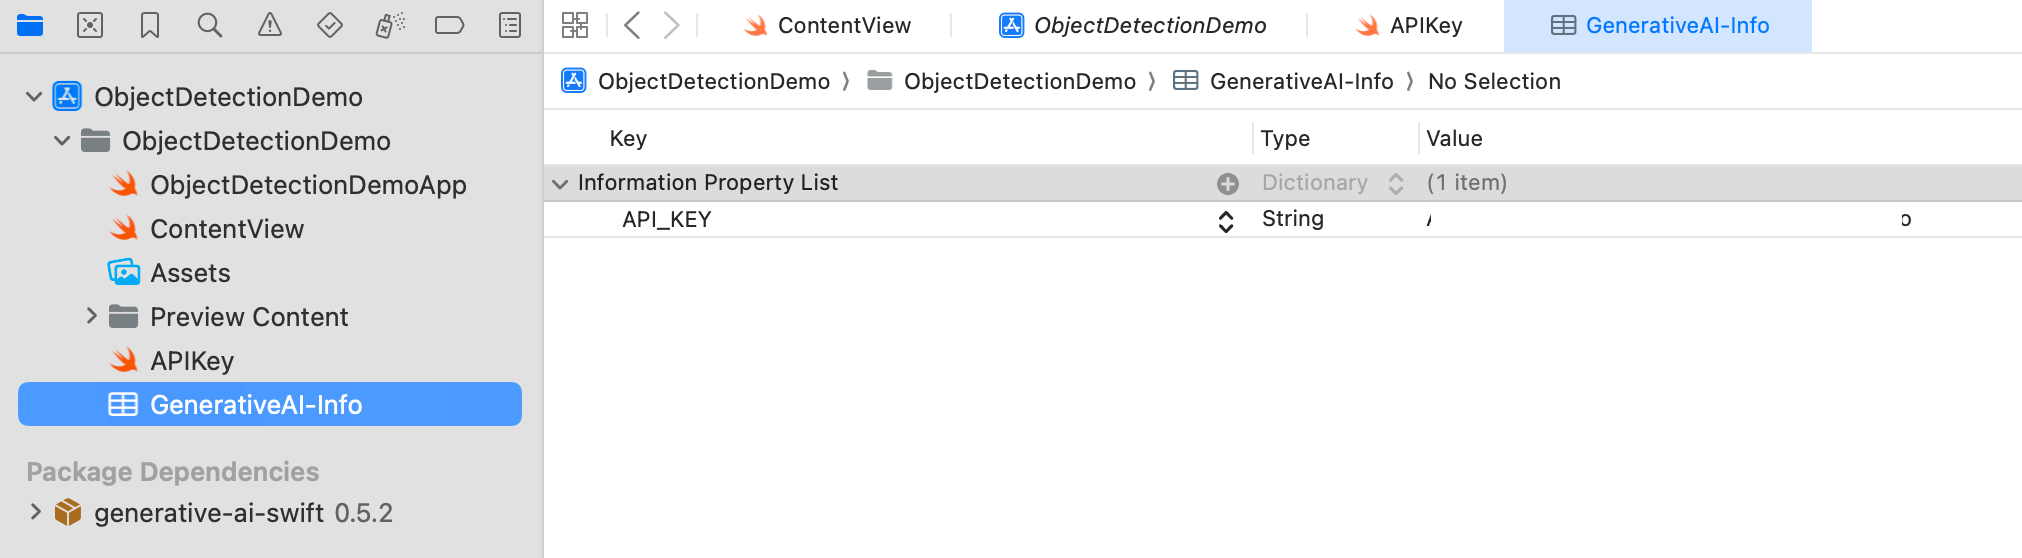
Subsequent, to retailer the API key, create a property file named GeneratedAI-Information.plist. On this file, create a key named API_KEY and enter your API key as the worth.
To learn the API key from the property file, create one other Swift file named APIKey.swift. Add the next code to this file:
enum APIKey {
  // Fetch the API key from `GenerativeAI-Information.plist`
  static var `default`: String {

    guard let filePath = Bundle.primary.path(forResource: "GenerativeAI-Information", ofType: "plist")
    else {
      fatalError("Could not discover file 'GenerativeAI-Information.plist'.")
    }

    let plist = NSDictionary(contentsOfFile: filePath)

    guard let worth = plist?.object(forKey: "API_KEY") as? String else {
      fatalError("Could not discover key 'API_KEY' in 'GenerativeAI-Information.plist'.")
    }

    if worth.begins(with: "_") {
      fatalError(
        "Comply with the directions at https://ai.google.dev/tutorials/setup to get an API key."
      )
    }

    return worth
  }
}
Constructing the App UI
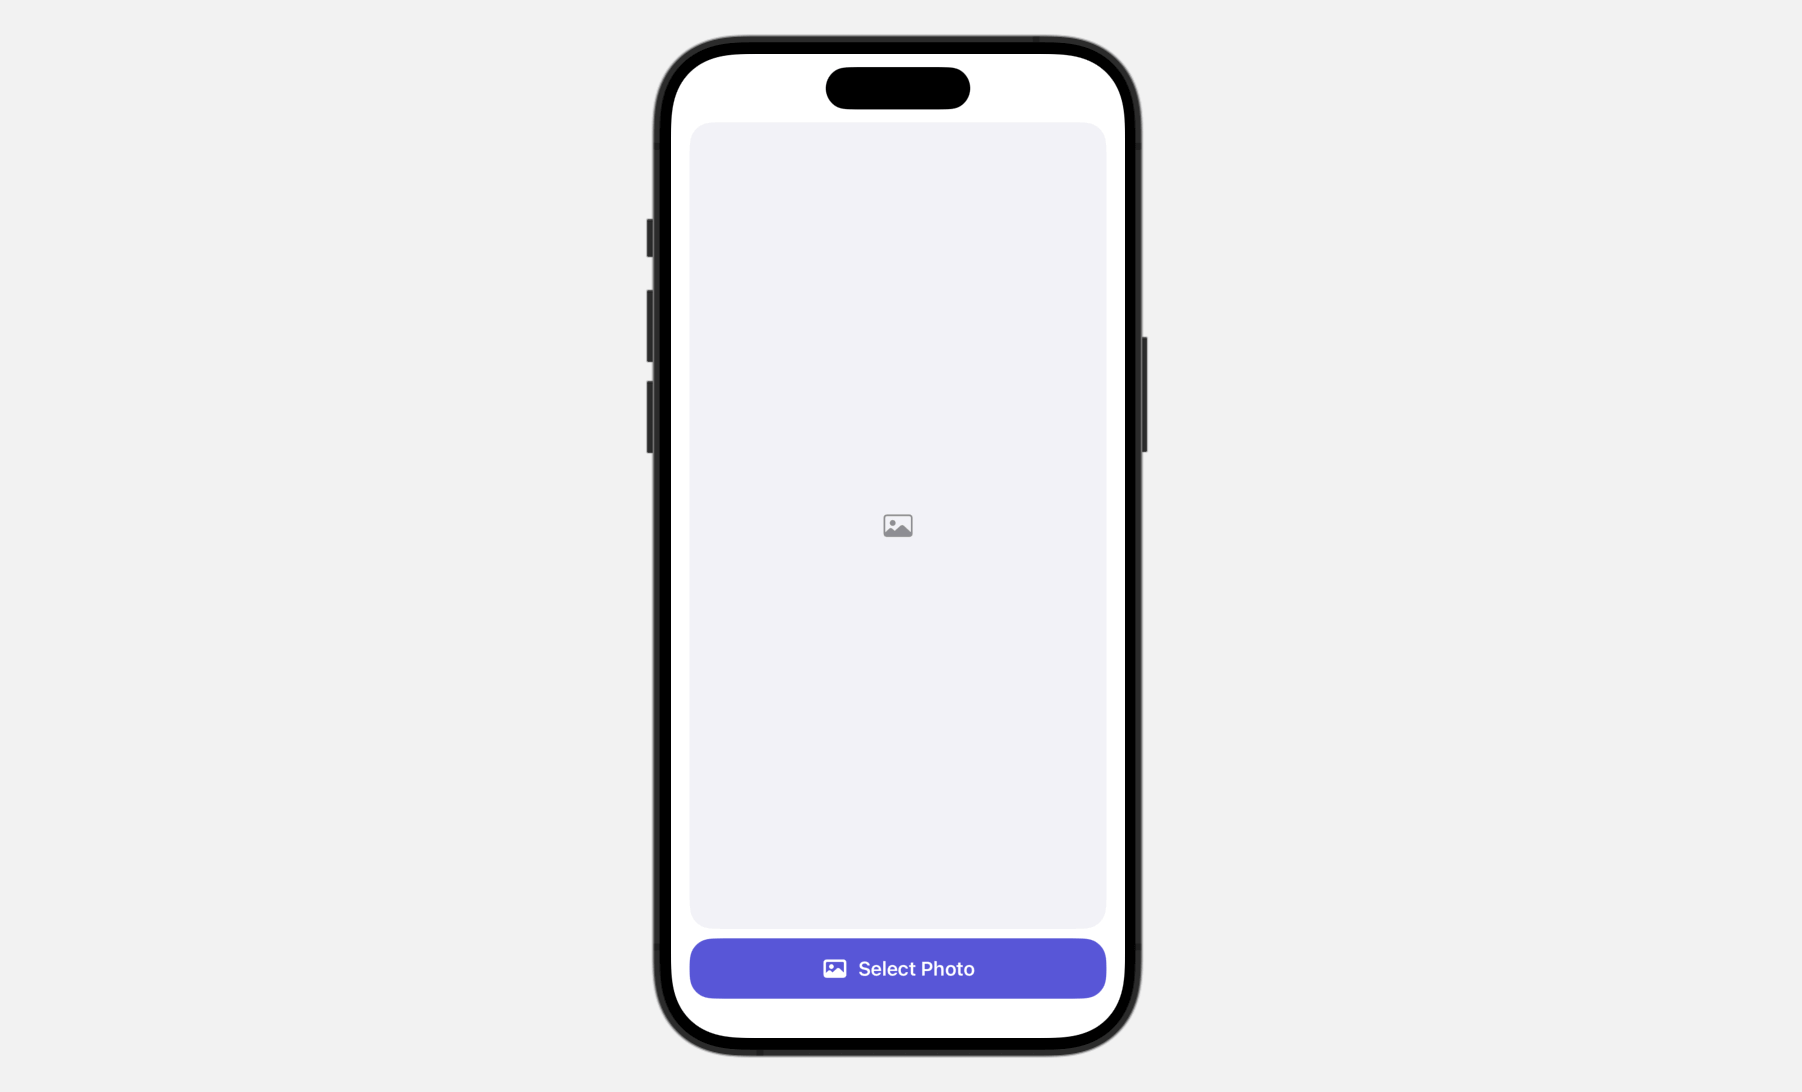
The consumer interface is simple. It contains a button on the backside of the display, permitting customers to entry the built-in Picture library. After a photograph is chosen, it seems within the picture view.
To convey up the built-in Pictures library, we use PhotosPicker, which is a local photograph picker view for managing photograph choices. When presenting the PhotosPicker view, it showcases the photograph album in a separate sheet, rendered atop your app’s interface.
First, you could import the PhotosUI framework in an effort to use the photograph picker view:
import PhotosUISubsequent, replace the ContentView struct like this to implement the consumer interface:
struct ContentView: View {

    @State personal var selectedItem: PhotosPickerItem?
    @State personal var selectedImage: Picture?

    var physique: some View {
        VStack {

            if let selectedImage {
                selectedImage
                    .resizable()
                    .scaledToFit()
                    .clipShape(RoundedRectangle(cornerRadius: 20.0))
            } else {

                Picture(systemName: "photograph")
                    .imageScale(.giant)
                    .foregroundStyle(.grey)
                    .body(maxWidth: .infinity, maxHeight: .infinity)
                    .background(Coloration(.systemGray6))
                    .clipShape(RoundedRectangle(cornerRadius: 20.0))
            }

            Spacer()

            PhotosPicker(choice: $selectedItem, matching: .photos) {
                Label("Choose Picture", systemImage: "photograph")
                    .body(maxWidth: .infinity)
                    .daring()
                    .padding()
                    .foregroundStyle(.white)
                    .background(.indigo)
                    .clipShape(RoundedRectangle(cornerRadius: 20.0))
            }
        }
        .padding(.horizontal)
        .onChange(of: selectedItem) { oldItem, newItem in
            Activity {
                if let picture = strive? await newItem?.loadTransferable(kind: Picture.self) {
                    selectedImage = picture
                }
            }
        }
    }
}
To make use of the PhotosPicker view, we declare a state variable to retailer the photograph choice after which instantiate a PhotosPicker view by passing the binding to the state variable. The matching parameter permits you to specify the asset kind to show.
When a photograph is chosen, the photograph picker routinely closes, storing the chosen photograph within the selectedItem variable of kind PhotosPickerItem. The loadTransferable(kind:completionHandler:) technique can be utilized to load the picture. By attaching the onChange modifier, you’ll be able to monitor updates to the selectedItem variable. If there’s a change, we invoke the loadTransferable technique to load the asset knowledge and save the picture to the selectedImage variable.
As a result of selectedImage is a state variable, SwiftUI routinely detects when its content material modifications and shows the picture on the display.
Picture Evaluation and Object Recognition
Having chosen a picture, the following step is to make use of the Gemini APIs to carry out picture evaluation and generate a textual content description from the picture.
Earlier than utilizing the APIs, insert the next assertion on the very starting of ContentView.swift to import the framework:
import GoogleGenerativeAISubsequent, declare a mannequin property to carry the AI mannequin:
let mannequin = GenerativeModel(identify: "gemini-pro-vision", apiKey: APIKey.default)For picture evaluation, we make the most of the gemini-pro-vision mannequin offered by Google Gemini. Then, we declare two state variables: one for storing the generated textual content and one other for monitoring the evaluation standing.
@State personal var analyzedResult: String?
@State personal var isAnalyzing: Bool = false
Subsequent, create a brand new perform named analyze() to carry out picture evaluation:
@MainActor func analyze() {

    self.analyzedResult = nil
    self.isAnalyzing.toggle()

    // Convert Picture to UIImage
    let imageRenderer = ImageRenderer(content material: selectedImage)
    imageRenderer.scale = 1.0

    guard let uiImage = imageRenderer.uiImage else {
        return
    }

    let immediate = "Describe the picture and clarify what the objects discovered within the picture"

    Activity {
        do {
            let response = strive await mannequin.generateContent(immediate, uiImage)

            if let textual content = response.textual content {
                print("Response: (textual content)")
                self.analyzedResult = textual content
                self.isAnalyzing.toggle()
            }
        } catch {
            print(error.localizedDescription)
        }
    }
}
Earlier than utilizing the mannequin’s API, we have to convert the picture view into an UIImage. We then invoke the generateContent technique with the picture and a predefined immediate, asking Google Gemini to explain the picture and establish the objects inside it.
When the response arrives, we extract the textual content description and assign it to the analyzedResult variable.
Subsequent, insert the next code and place it above the Spacer() view:
ScrollView {
    Textual content(analyzedResult ?? (isAnalyzing ? "Analyzing..." : "Choose a photograph to get began"))
        .font(.system(.title2, design: .rounded))
}
.padding()
.body(maxWidth: .infinity, maxHeight: .infinity, alignment: .main)
.background(Coloration(.systemGray6))
.clipShape(RoundedRectangle(cornerRadius: 20.0))
This scroll view shows the textual content generated by Gemini. Optionally, you’ll be able to add an overlay modifier to the selectedImage view. This may show a progress view whereas a picture evaluation is being carried out.
.overlay {
if isAnalyzing {
RoundedRectangle(cornerRadius: 20.0)
.fill(.black)
.opacity(0.5)
ProgressView()
.tint(.white)
}
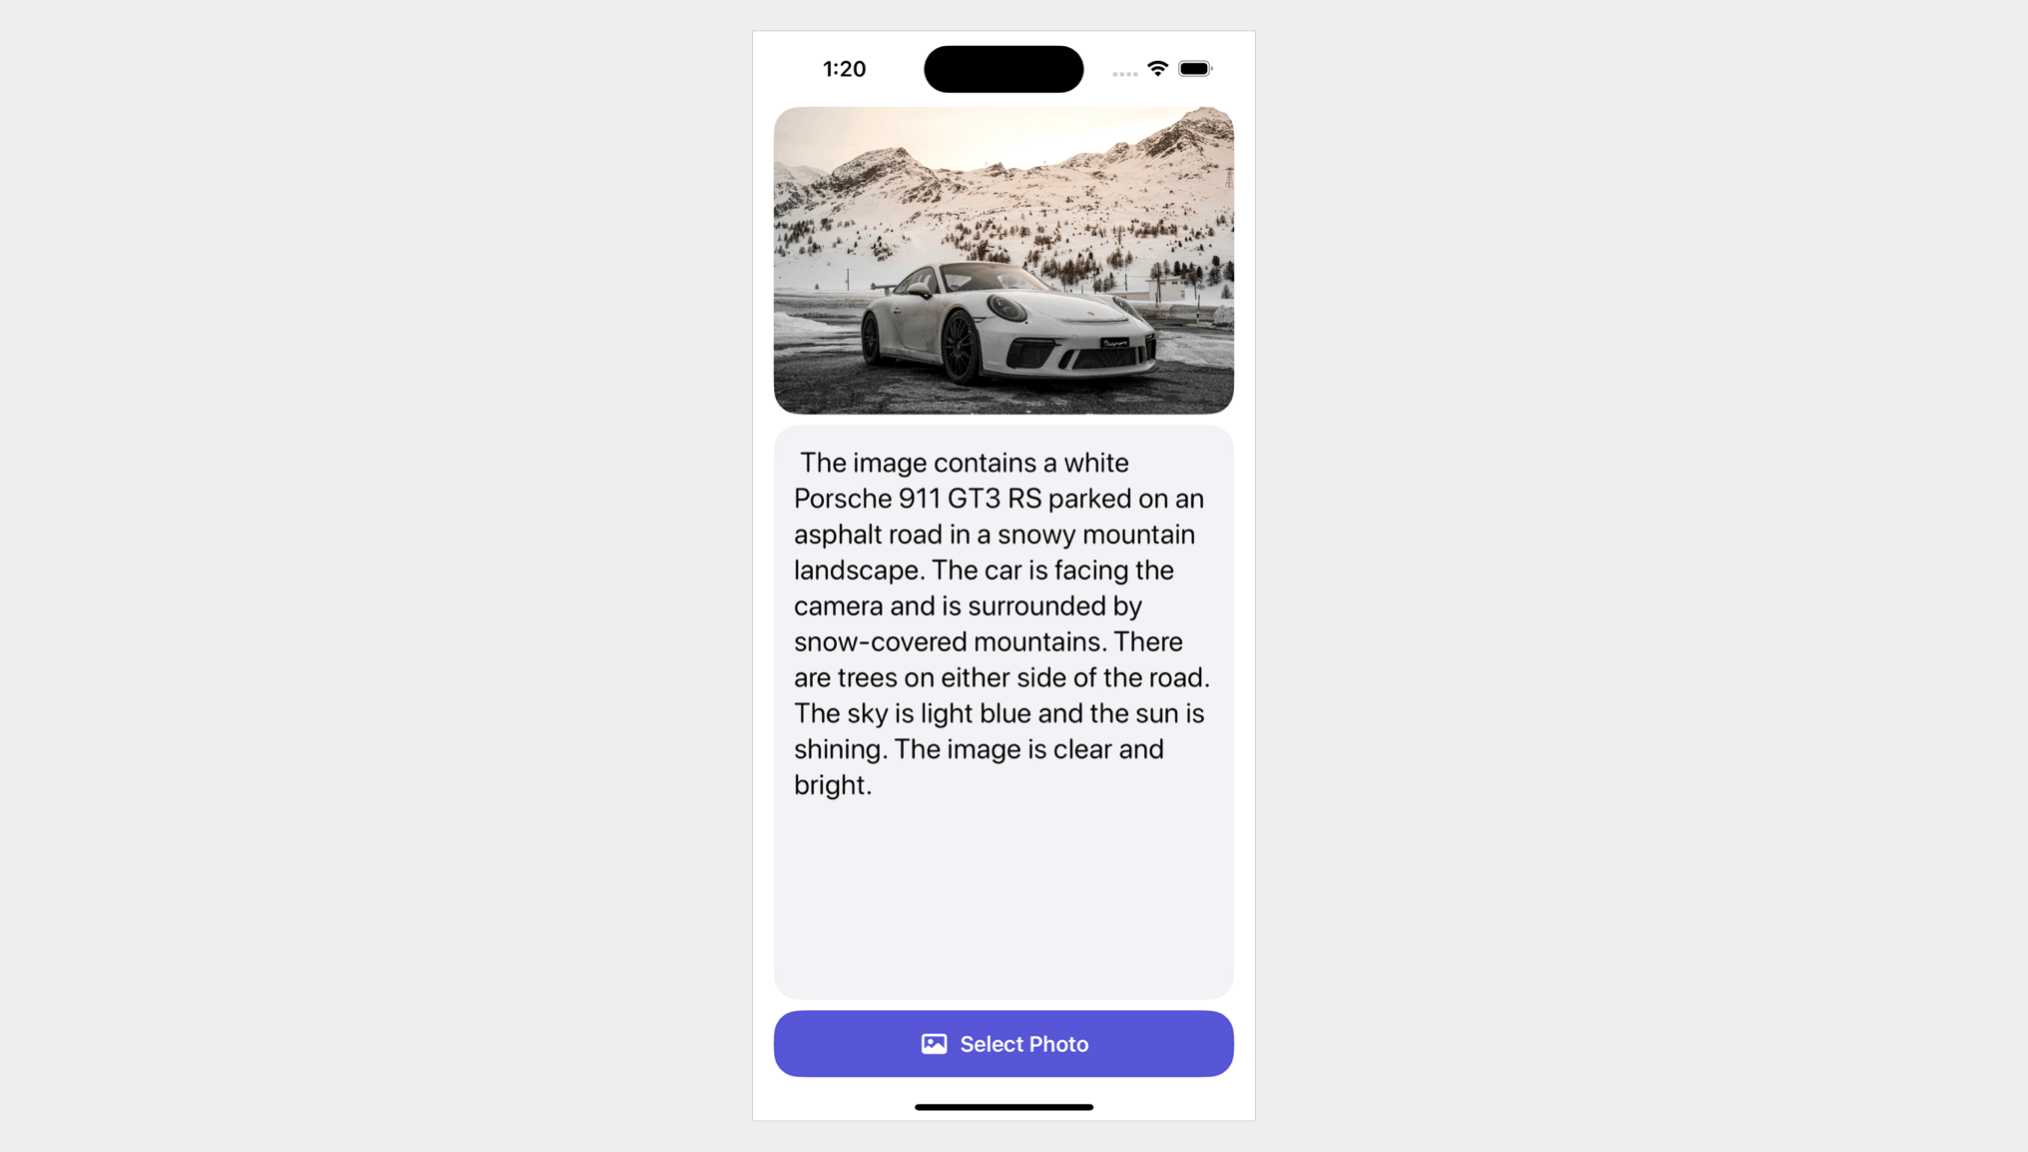
}After implementing all of the modifications, the preview pane ought to now be displaying a newly designed consumer interface. This interface includes of the chosen picture, the picture description space, and a button to pick out images from the photograph library. That is what you must see in your preview pane if all of the steps have been adopted and executed accurately.

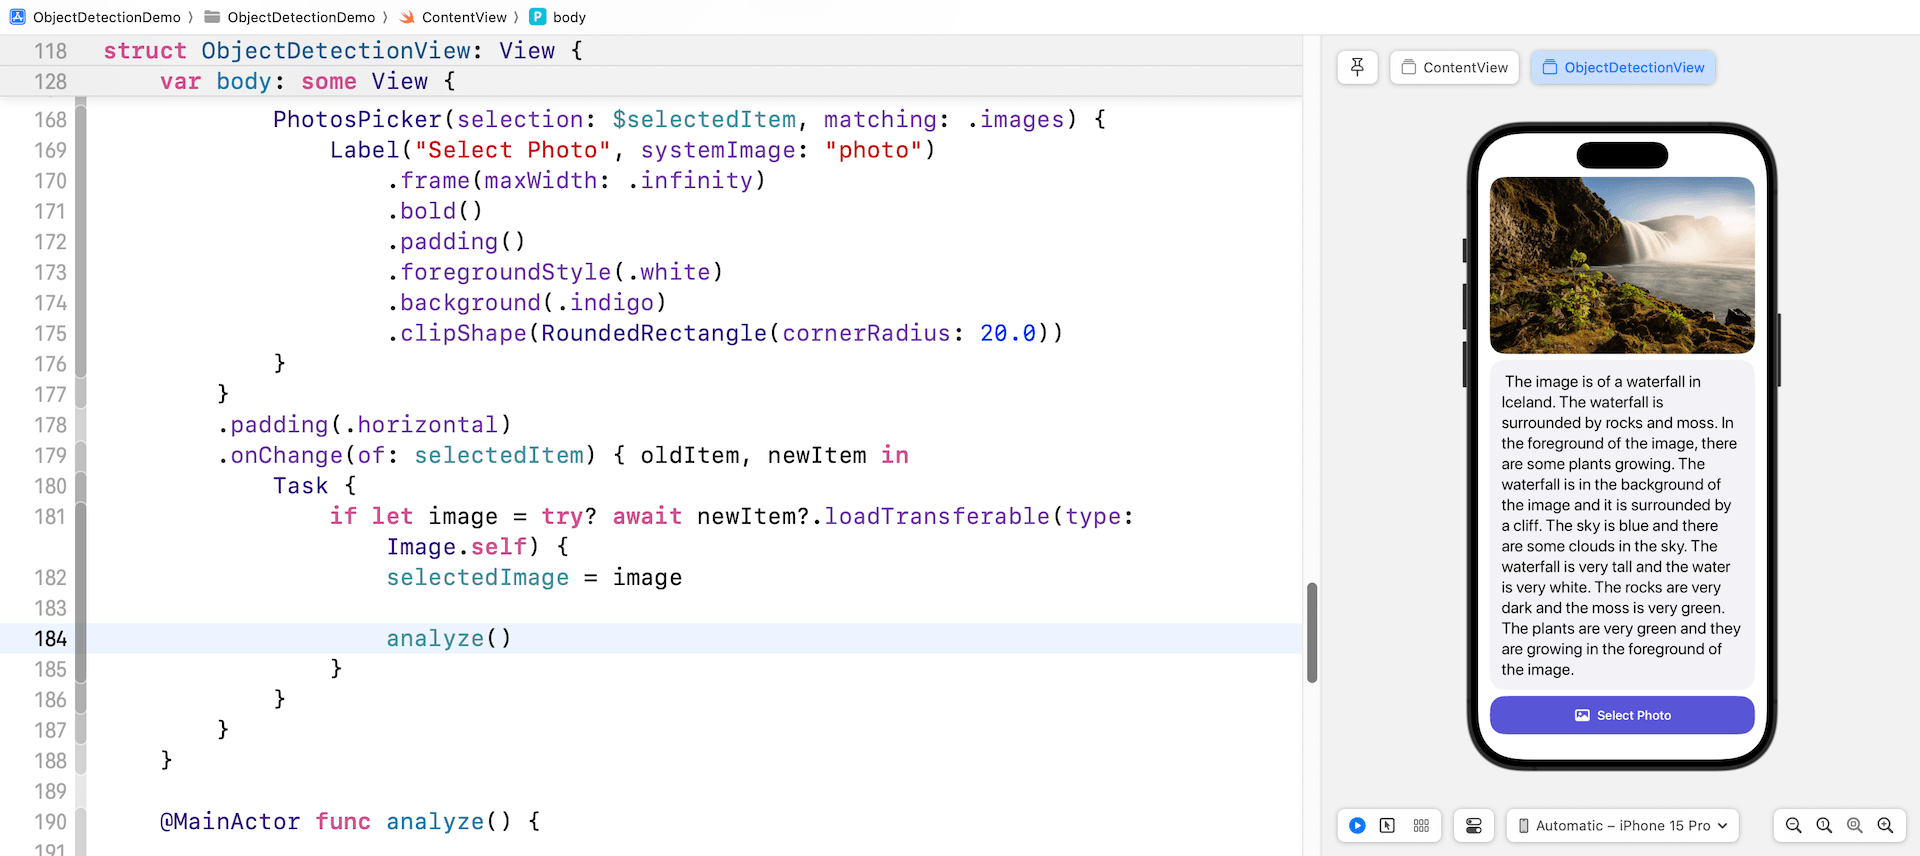
Lastly, insert a line of code within the onChange modifier to name the analyze() technique after the selectedImage. That’s all! Now you can check the app within the preview pane. Click on on the Choose Picture button and select a photograph from the library. The app will then ship the chosen photograph to Google Gemini for evaluation and show the generated textual content within the scroll view.
Abstract
The tutorial demonstrates the best way to construct an AI picture recognition app utilizing Google Gemini APIs and SwiftUI. The app permits customers to pick out a picture from their photograph library and makes use of Gemini to explain the contents of the photograph.
From the code we’ve simply labored on, you’ll be able to see that it solely requires a couple of strains to immediate Google Gemini to generate textual content from a picture. Though this demo illustrates the method utilizing a single picture, the API really helps a number of photos. For additional particulars on the way it capabilities, please seek advice from the official documentation.
